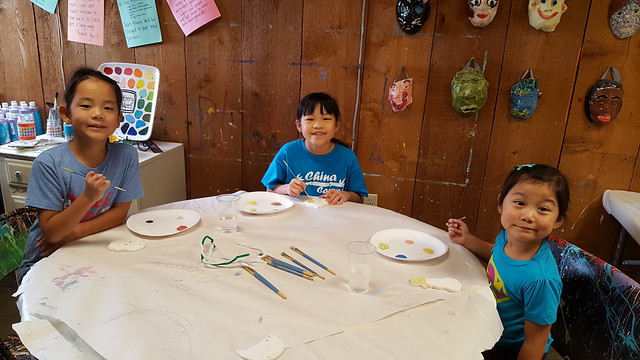
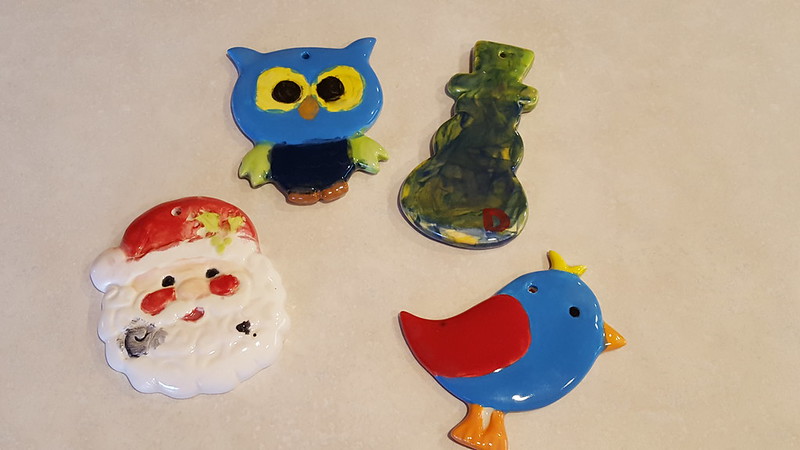
This year I decided it would be fun for the girls to paint their own ornaments for the tree so early in December we headed to Van Grow to paint. Below shows the finished product after they were fired and we picked them up 2 weeks later.
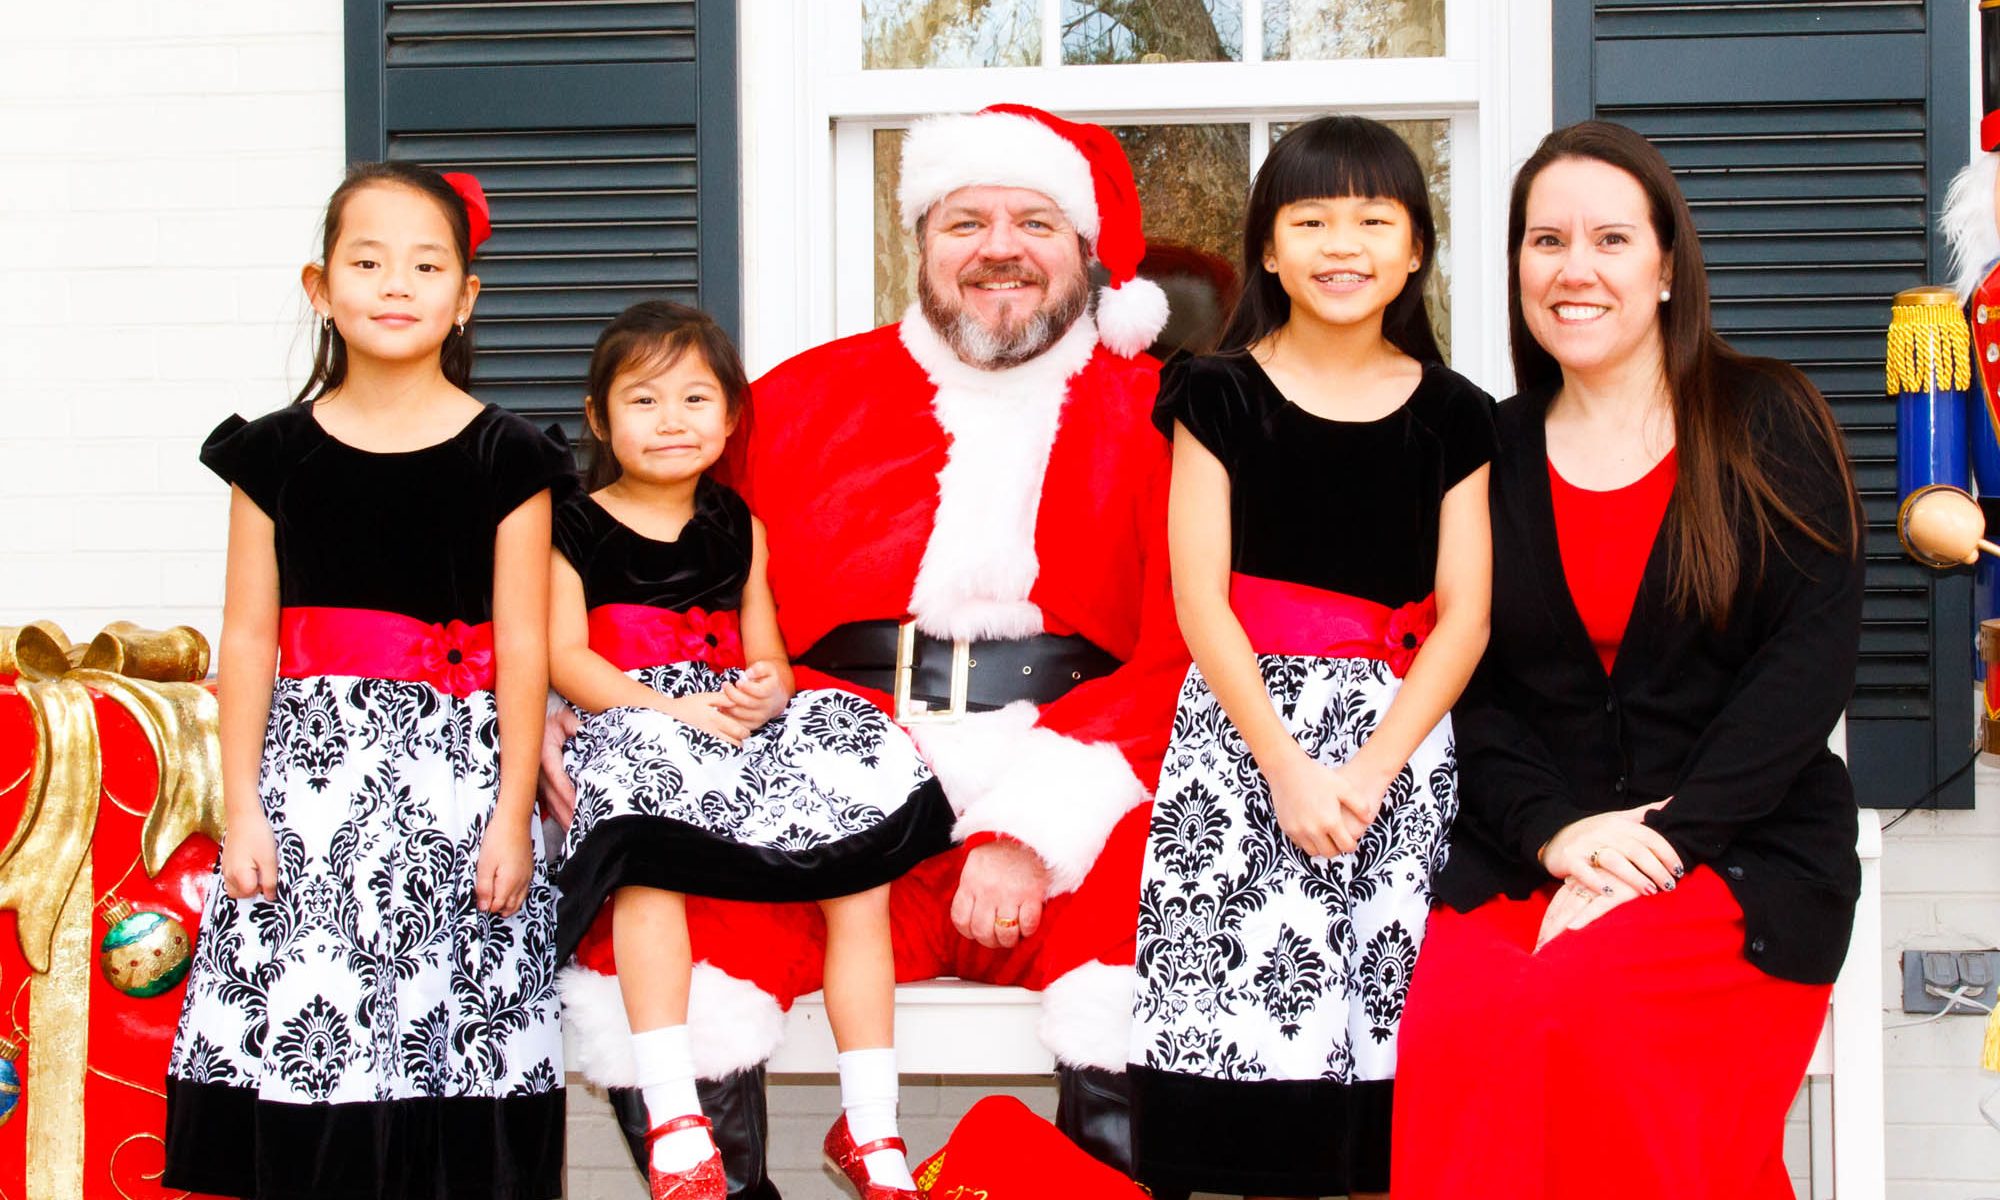
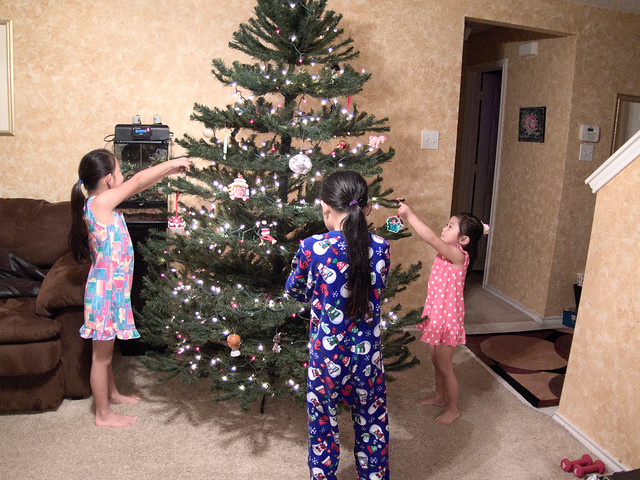
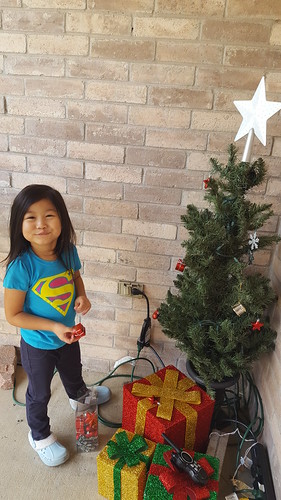
Then later in the day we decorated the inside and outside tree which is always fun.
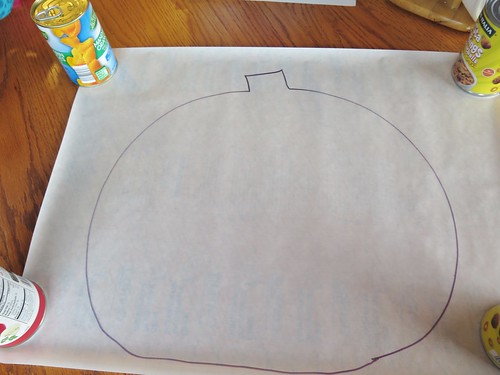
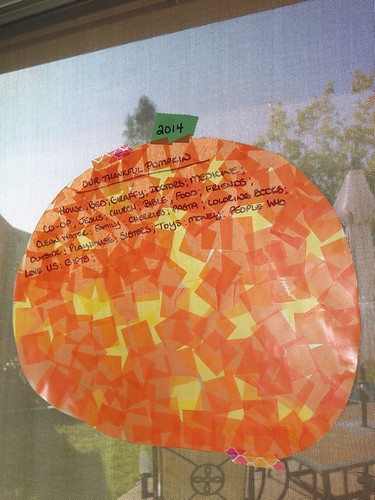
Last year we wrote on a real pumpkin, but this year the one I bought started to rot because I left it outside. Whoops. Then when I tried to find another pumpkin to replace it they were sold out at 4 different stores. This inspired me to turn it into a craft that all the girls could help with. And we could actually save it unlike the one one threw away last year. The girls had fun and Dani kept saying, “I di eh! I di eh!” (I did it!) It so easy that you can do it too!
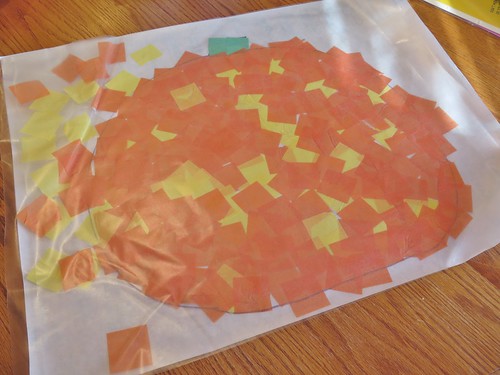
Step 1 : draw the outline of pumpkin on clear contact paper
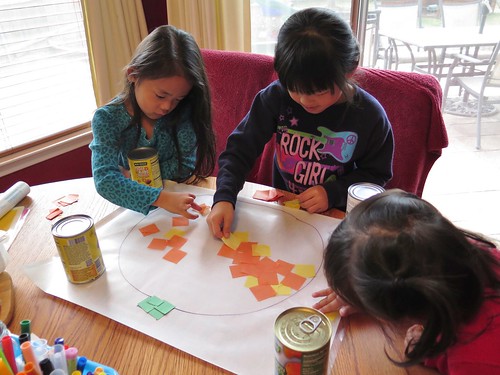
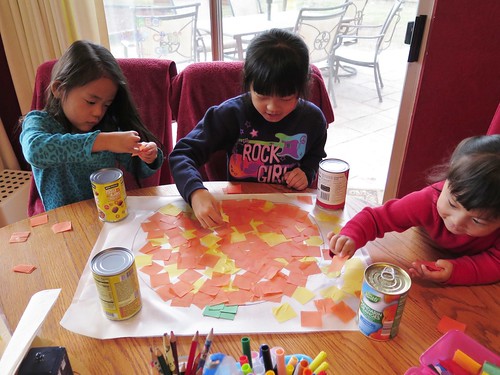
Step 2: I gave all three girls a mix of orange and yellow tissue paper. Then they just put them on the sticky part. I put a few pieces of green construction paper at the top.
Step 3: Cut out and peel another piece of contact paper and place it on top as smoothly as you can with the help of the kid 😉
Step 4: Hang it up like a suncatcher and start writing what you are thankful for.
As Nadia and Amelie would say, “Easy Peasy. Lemon Squeasy.”
Nadia was so excited to attend Art Camp at church again this year. She choose to do leather work with Mr. Steve and visual art with Miss Sarah again. There was no way she was going to pick dance, garage band or drama since that would require a performance in front of people 🙂
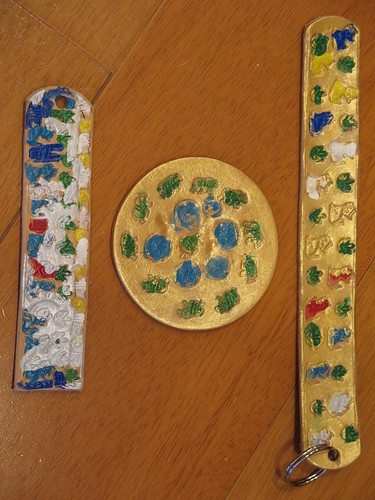
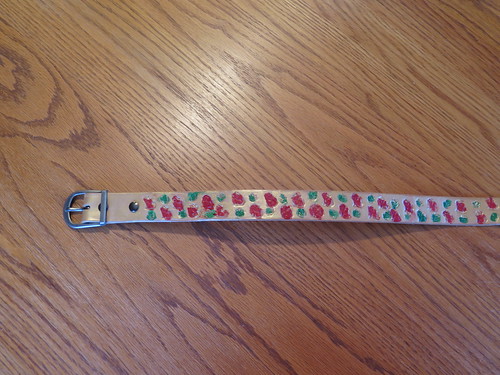
In leather work she made an assortment of small items like coasters, but their big project was a leather belt with buckle. She painted it gold and stamped it with cats and leaves.
She loves this belt because she made it, and because she says she likes to pretend it is real gold.
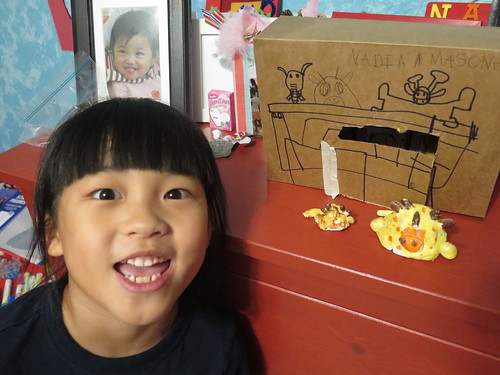
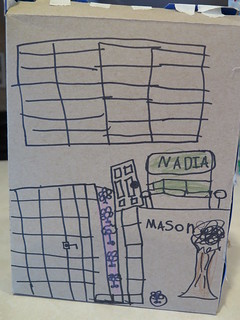
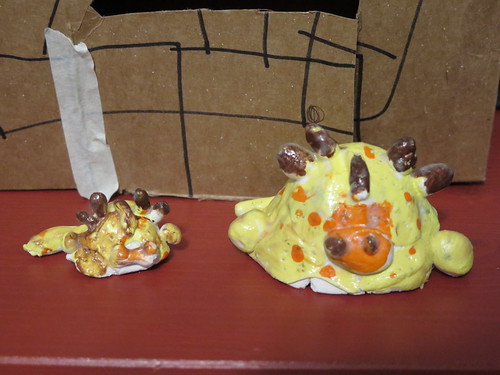
In Visual Arts our friend Sarah decided to have the kids focus on 3D art and Nadia thought it was fantastic. Above is Nadia’s “house” and she decided that it was a small version that her paper mache giraffes could live in on her dresser.
Here is a close up of the giraffes.
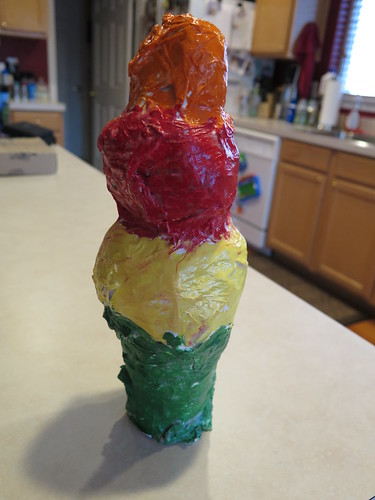
The 3D ice cream cone. Nadia had so much fun making this and was so proud to bring it home. We are very blessed that our church does this each year now. I love the idea that we offer up the talents of the people in the church to share with the kids in our church and community each year.
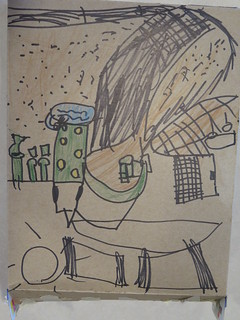
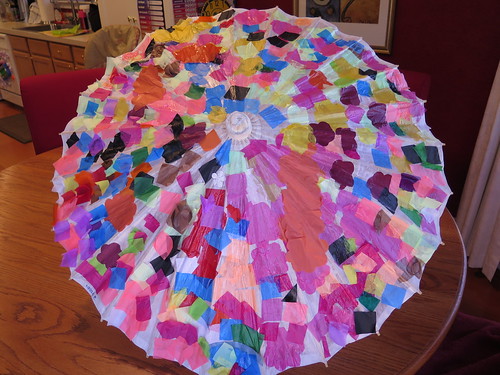
This is not from Art Camp, but is her parasol that she made in China Camp last month. It’s just so pretty I put it in this blog post with all her other creations.
Nadia loves the Dr. Seuss book about Oobleck and I knew the girls would get a kick out of having some messy fun. This is where I found the recipe. The ingredients are water, corn starch and food coloring.
I gave each girl a bowl, fork, spoon and funnel. For easy clean up I placed some beach towels on the floor. Once they were done I tossed their clothes and the towels straight into the washer.
Both girls thought this was great fun. They said it was squishy, messy and drippy. Nadia spent so much time kneading hers that we had to add more water to soften it up again. Amelie loved the feel of it dripping off her hands. Once they washed their hands they did have a slight green tint, but it washed off by the next day. We will definitely do this again.