
Last year we wrote on a real pumpkin, but this year the one I bought started to rot because I left it outside. Whoops. Then when I tried to find another pumpkin to replace it they were sold out at 4 different stores. This inspired me to turn it into a craft that all the girls could help with. And we could actually save it unlike the one one threw away last year. The girls had fun and Dani kept saying, “I di eh! I di eh!” (I did it!) It so easy that you can do it too!
Supplies: Contact Paper, Tissue Paper, Sharpie, Scissors
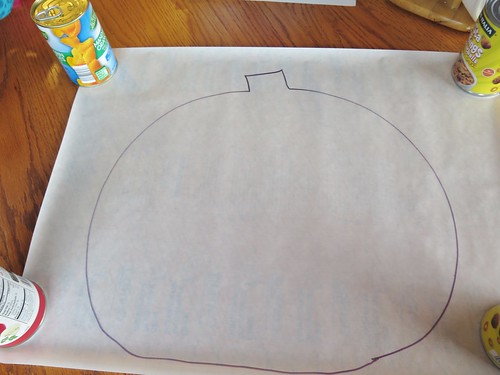
Step 1 : draw the outline of pumpkin on clear contact paper
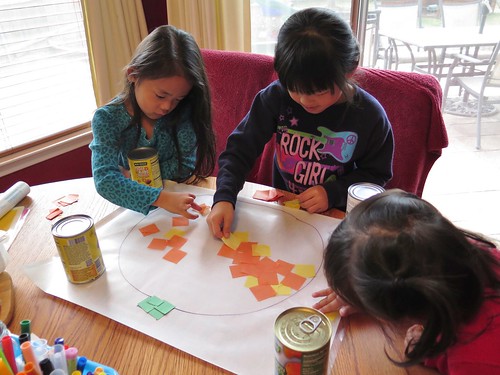
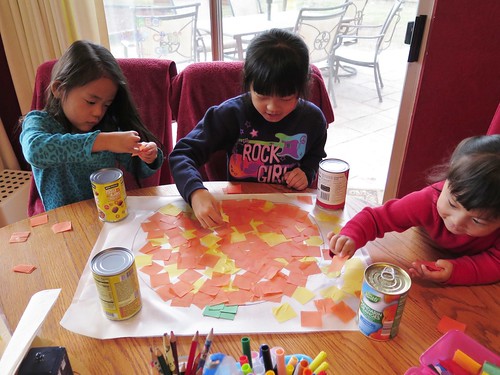
Step 2: I gave all three girls a mix of orange and yellow tissue paper. Then they just put them on the sticky part. I put a few pieces of green construction paper at the top.
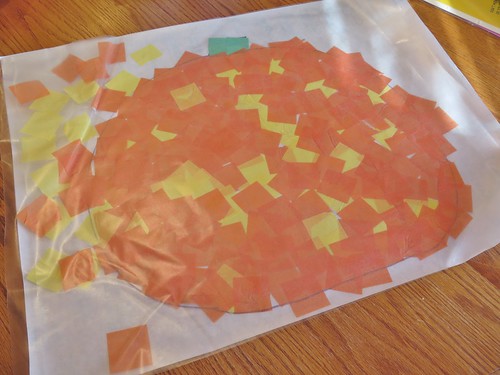
Step 3: Cut out and peel another piece of contact paper and place it on top as smoothly as you can with the help of the kid 😉
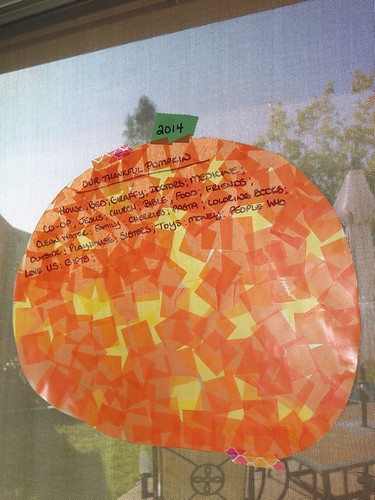
Step 4: Hang it up like a suncatcher and start writing what you are thankful for.
As Nadia and Amelie would say, “Easy Peasy. Lemon Squeasy.”