I have been telling Nadia for quite some time that we could make homemade silly putty and then you know, life happens and suddenly two months have passed. She mentioned it again last week and I thought it would be fun to do on a day when we had a free afternoon. I googled it and we prepped the ingredients. Are you ready? Two tablespoons of Elmer’s Glue All (not school glue) and one tablespoon of liquid starch.
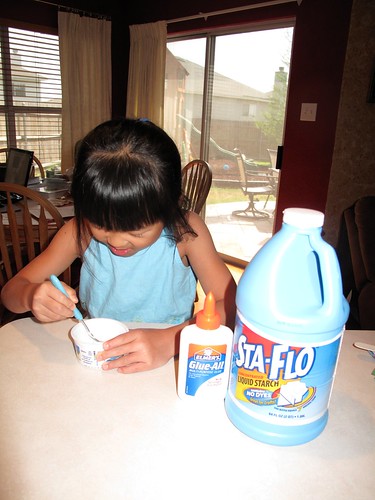
Put the ingredients in a bowl and stir for 10 minutes.
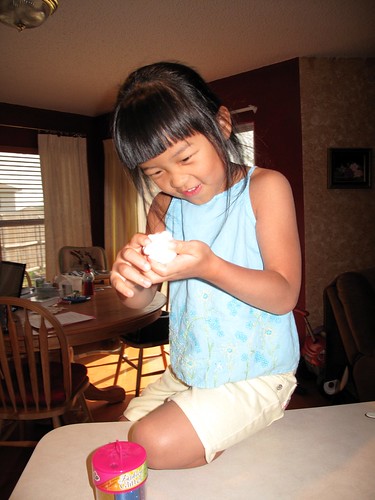
Then knead and knead and knead. We didn’t have any regular food coloring so Nadia asked for glitter. Then I told her she had to knead and knead and knead some more until it felt like her other silly putty.
At this point the glitter was well mixed, but it needed some more kneading. Nadia did all of the stirring and kneading and it kept her very busy.
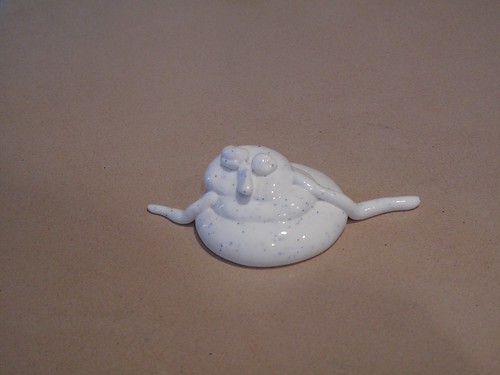
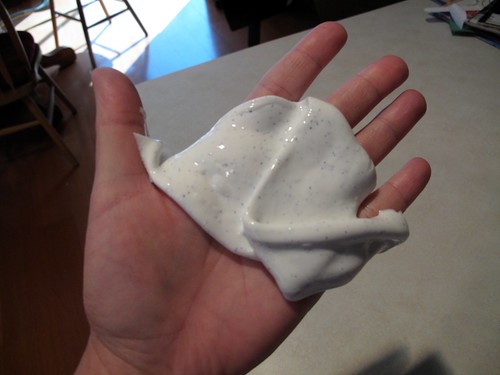
Then she made a snowman, but he “melted” because it’s not as firm as the factory made stuff. I thought this was adorable. The day she made this she played with it for at least an hour. She has played with it constantly and wants to make some in colors soon.
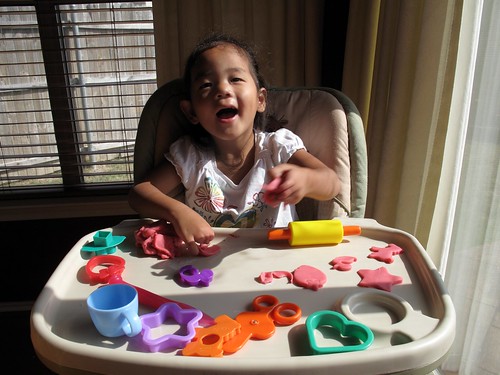
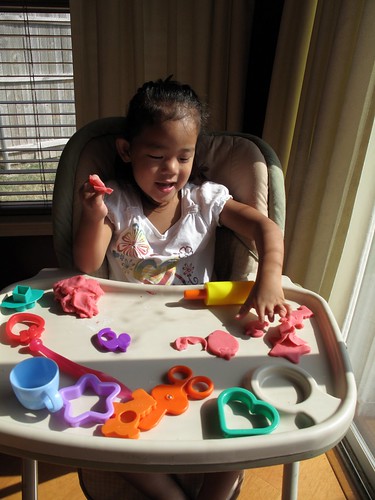
You know Amelie wanted to be in on the action so I put her in her chair because she still loves Playdoh and it kept her from grabbing at Nadia’s project. This is some that our friend Sarah gave her. It is the most wonderful playdoh!! I had to get the recipe from her and here it is. You should make it and then store it in a ziploc or other container. We have been playing with it for over a month.
1 1/2 cup flour
1/3 cup salt
2 teas cream of tarter
1 1/2 cup water
1 1/2 TBSP veg oil (or canola or something of the like)
Dump into a small/med sauce pan and heat on med and stir occasionally until it starts forming a dough-like mass – than stir so it doesn’t burn. Once it looks like it’s smoothing out and no liquid pools and it’s very thick, playdoh looking… take off heat – scrape out onto a plate or board and just let it sit until cooled a bit.
Add color while warm, just to mix it easier. I use old school food color droppers and add one color in the saucepan – less mess to get a nice bright base color than doing afterwards. Then I add some more color to sections to make more colors, if you wanted. I add the glitter after it’s cooled on the plate for around 10 minutes. it seems to last awhile! PS for really fun colors, I use a neon set of dye droppers, so fun!